If you ever run into issues with your Mac, the easiest way to do a fresh installation of macOS is using the internet recovery method.
But did you know that you can also create a bootable USB drive to install macOS from if internet recovery isn’t an option? This is especially helpful when making fresh installs on multiple machines easy.
Why Install macOS From a USB?
Creating a bootable USB drive and using it to reinstall macOS is a bit of a lengthier process compared to simply updating macOS from the Software Update section of the System Preferences, but it has its benefits.
But creating a bootable USB disk allows you to install or update macOS on multiple systems without having to download the installer on each Mac. This can save quite a bit of time, considering the most recent versions of macOS have an installer size of 12GB.
You can also use the built-in recovery tools that come with the macOS installer to troubleshoot and fix different kinds of issues. These issues include when your Mac refuses to boot or when you need to recover system files that seem to be lost.
Another benefit of using a bootable disk for a macOS installation is that you can perform a clean installation. A clean installation allows you to get rid of junk apps and files that may have accumulated over time. This almost always results in a Mac running faster after a clean install, since macOS has started over with a clean slate.
Step 1. Choose a USB Flash Drive for Installing macOS
USB flash drives are cheaper than ever, so you won’t have to spend much on this task. However, make sure to buy a name-brand flash drive (like SanDisk, Kingston, or PNY) from a reputable store. Stay away from cheap drives with suspiciously high storage on sites like eBay.
Those drives often have their firmware hacked to report a false size to your operating system. Not only will the transfer speeds be painfully slow, but using them may also result in loss of data or even a damaged USB port.
Also, check to see what ports you have on your Mac. Most of Apple’s current MacBook models exclusively offer USB-C ports. Fortunately, there are a lot of USB-C drives available, or you can use a USB-C to USB-A adapter. It’s best to go with a USB 3.0 drive, with a minimum size of 16GB.
Step 2. Format Your USB Flash Drive
You can only create a bootable installer for macOS on a Mac. If you’re using a flash drive that already has data on it, make sure to back up any important files now, as you’re going to erase everything in a moment.
Open Finder. Then navigate to Applications > Utilities, and open Disk Utility. You should see your flash drive under the External section in the left pane. After selecting it, click on the Erase button along the top. Choose a recognizable name (which you’ll use later), and make sure to choose Mac OS Extended (Journaled) for the format. Finally, click Erase.

Step 3. Download the macOS Installer
Apple has changed the method for downloading versions of the operating system of macOS. While the installers were previously available to download via the App Store, newer versions (macOS Mojave and later) update the system from System Preferences.
To download the latest version of the macOS installer for installing on a USB, open up the System Preferences and navigate to Software Update. You should see the option to download the installer here.
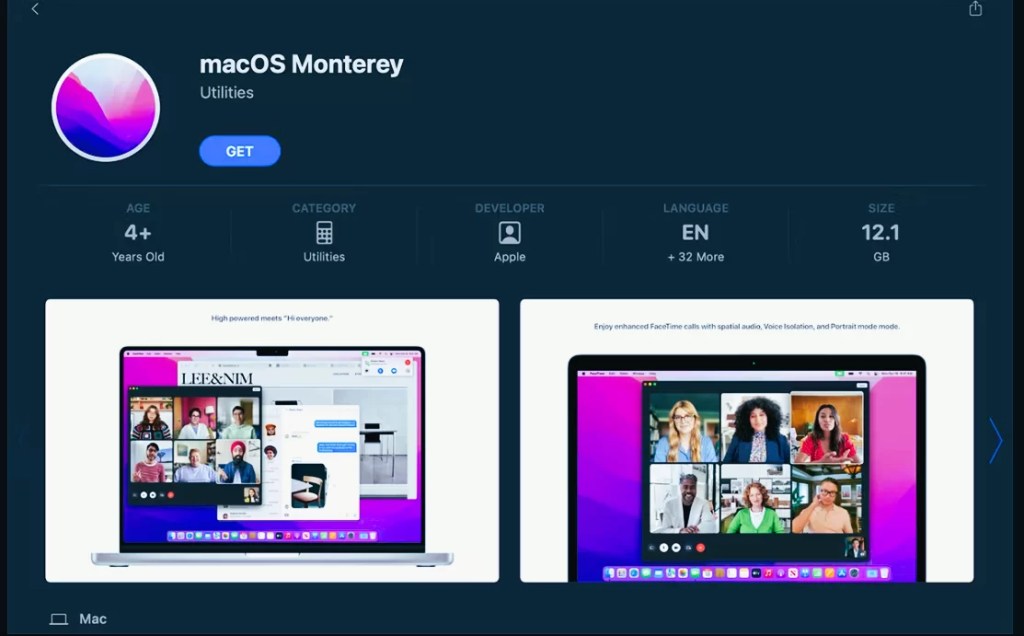
You can also use the App Store to open the System Preferences and download the update. Open the App Store and search for your version of macOS. Click on the View or Get button, which will open up System Preferences to download the installer. If you’re on a version of macOS from before Mojave, you can still download the installer directly from the App Store.

In the event that you are already running the latest version of macOS, you might not see the option to download the installer in System Preferences. In that case, use the App Store method detailed above. This will force System Preferences to download the installer, which you can then use to create the bootable disk.
In either case, once the installer downloads and opens, quit it without continuing the installation.
Step 4. Create a Bootable USB Using Terminal
Terminal offers the easiest way to create your bootable USB drive to install macOS. Just replace the MyVolume portion of the commands below with the name you gave your drive in the Disk Utility step above.
Take note that the commands differ slightly for creating bootable USBs for different versions of macOS. If you are going to create a bootable drive for macOS Monterey, use the command below as it is. Otherwise, replace Monterey with the macOS version name (for example Mojave).
To create a Monterey installer:
sudo /Applications/Install\ macOS\ Monterey.app/Contents/Resources/createinstallmedia --volume /Volumes/MyVolume
Copy and paste the command you need above into your Terminal window and press the Return key. After entering your password, confirm you want to erase the USB drive by typing Y followed by Return. Terminal will now erase and create your bootable USB drive, ready for you to boot from.

Creating a Bootable Disk Using Software
If you prefer creating a bootable disk using the software method, you can use third-party applications to do so. Diskmaker X was the famous go-to utility for creating bootable disks, but it doesn’t support the latest versions of macOS (High Sierra onwards). Instead, you can use the free Install Disk Creator from MacDaddy for creating a bootable macOS installer.
Once you’ve downloaded the software, simply open it up. The app should automatically detect the macOS installer in your Downloads folder. Simply select the USB drive that you want to create a bootable disk on from the top volume dropdown list, and click on Create Installer.
How to Boot Your Mac From a USB Drive
Now if you find yourself in a sticky situation where your Mac isn’t booting, or you want to do a fresh installation of macOS, you have a solution. You can install macOS from your USB and not have to download the macOS installer again. This will come in handy for fixing the “macOS could not be installed” error.
Before you reinstall macOS on your Mac, make sure you’ve backed up all your important data! This is crucial when you do a fresh installation, as it will wipe your hard drive. You can use Time Machine to easily back up the data on your Mac.
There are two different methods to boot your Mac from a bootable USB, depending on which processor your Mac has.
Intel Macs
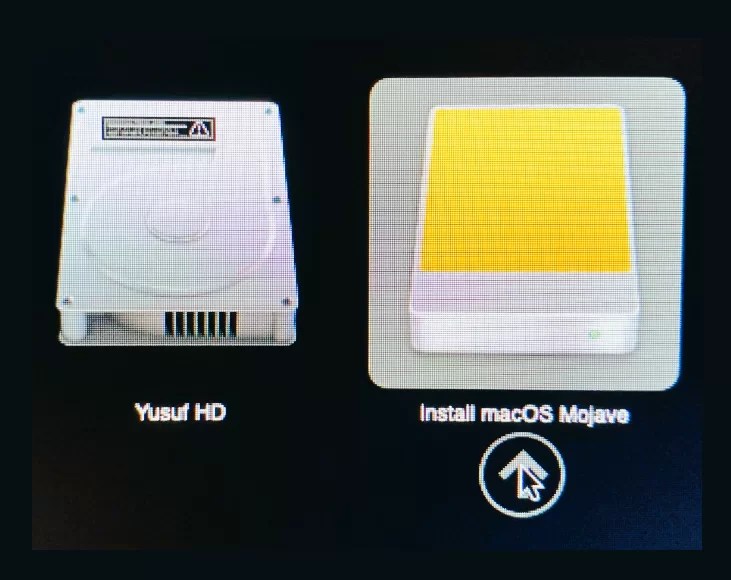
Simply plug your created USB drive into an open USB port on your Mac. Power on the system, or restart it if it’s already on, and immediately press and hold the Option key when it starts booting.
M1 or M2 Apple Silicon Macs
To boot an M1 or M2 Apple silicon Mac using a bootable USB disk, power on the system or restart it if it’s already on, and keep the Power button pressed down.
You should now see an option to select your USB drive as a startup disk. After selecting it, your system will boot off your USB drive and enter macOS Recovery with the macOS Monterey installer appearing on your screen. If you want to erase your disk first, to do a clean install, quit the installer and run Disk Utility from the Recovery menu. You can format the drive and then go back to the Recovery menu and install macOS Monterey.

Some wireless keyboards may not work at this point. If you’re having difficulty, plug in a wired keyboard instead. If you don’t see your USB drive as one of the startup options, try a different USB port.
What to Do if Your Mac Won’t Boot Using a USB
In some cases, Intel Macs with a T2 chip (Intel Macs released after 2018) may not allow you to boot a macOS installer from an external drive. This is due to a setting in the Security Startup Utility that needs to be adjusted. This can be done by following the steps explained below:
- Boot into macOS Recovery by pressing Cmd + R while you turn on the Mac.
- A list of users will appear. Select and log in to the administrator’s account.
- When the Mac has booted up, select the Utilities menu, and select Startup Security Utility.
- You may be asked to authenticate again. Enter macOS password, choose an administrator account, and enter the password.
- Once the app has launched, select the option to Allow booting from external media at the External Boot section at the bottom of the window.
- Quit the app and restart the Mac.
That’s it! You should now be able to normally boot from the external drive using the steps detailed above.
Using Your Bootable macOS USB
You can create a fresh installation of macOS, restore from a Time Machine backup, or access tools like Disk Utility from the macOS Recovery screen. You can also use your USB drive to upgrade macOS to the latest version. If you need to troubleshoot your Mac without a network connection, this USB drive could be a lifesaver.


